Run a Tailscale VPN relay on ECS/Fargate
2022-Feb-22 • by David Norton
This is the first of our client logs, describing a problem encountered by a client, and a solution we helped design and deliver.
Today we'll describe how we used Tailscale and ECS to help our client build an inexpensive, simple VPN solution.
Background
The client is a small company transitioning from startup mode into "scale-up mode". Their infrastructure is on AWS, and they needed to move certain resources, such as databases, into private VPC subnets so they were not internet-accessible. However, developers and administrators at the company need to retain access to the databases from their workstations for troubleshooting and maintenance tasks.
We could easily have set up a bastion or jumphost, but we didn't want the additional management overhead of maintaining and protecting the SSH server, managing users and SSH keys, and so on. Plus, there were some non-technical users that needed access to internal resources. So we looked at VPN options. AWS Client VPN was an obvious option, but the pricing seemed higher than necessary.
Tailscale
Tailscale is a VPN service and client based on the Wireguard protocol. It was recommended both by many of my own peers, and by some developers at the client. We decided to give it a shot, and were pleased with the experience!
In our experience, it's simple and easy-to-use. Workstations can join using a native UI client, and server machines can be added with a CLI client running as a "sidecar" on the same server or Kubernetes pod. You can also connect to entire private networks with a subnet router or relay. Finally, you can send all of your workstation's traffic through a Tailscale exit node.
On the downside, there is no official Terraform provider (there is an unofficial provider), and OIDC authentication is only
available under an "Enterprise"-level license. Additionally, as you'll see in this tutorial, the published Docker image
either needs to be extended to run configuration commands such as tailscale up, or you need to run the commands
outside of the docker run lifecycle.
They offer a free version for personal use, and plans for businesses start at $5/user/month.
The solution: Running Tailscale on ECS
We decided to launch Tailscale on ECS. We will use the Fargate capacity provider since the client doesn't manage any EC2 instances and would like to keep it that way -- but this could easily be run on managed ECS nodes.
We will run Tailscale in relay mode, but this could also be used to run an exit node or to run Tailscale as a sidecar to your other applications. We will run Tailscale using userspace networking so that we don't have to provide low-level permissions to the container.
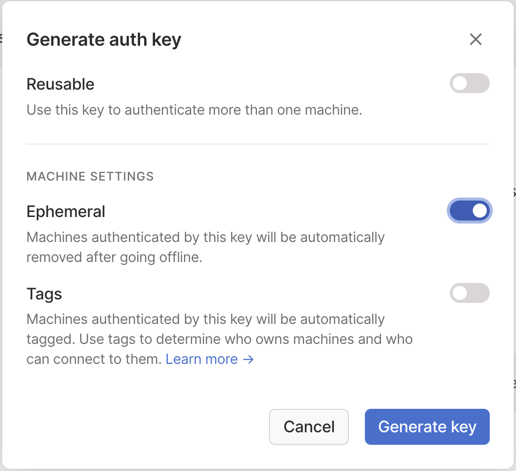
Step 1: Generate an auth key
Auth keys allow you to login to Tailscale without a UI. I'd recommend a non-reusable (one-off), ephemeral (instances get cleaned up) key.
Step 2: Build Docker image
We can either launch Tailscale using a custom Docker image, or we can use Terraform's null_resource and provisioning
feature. If you're OK with the funky smell of a time_sleep and null_resource provisioner, skip this step and see
the examples in the associated GitHub repo.
The standard Tailscale docker image can be given the tailscaled command to run in daemon mode, but the first time it
launches, it needs to be configured by running tailscale up and passing parameters such as the auth key, subnets, etc.
Ideally we could pass these as environment variables, but that is not supported by the off-the-shelf image. Many of their
instructions (including for AWS App Runner, which is based on Fargate)
suggest building your own bootstrap script.
I built a Docker image similar to theirs, which contains a bootstrap script:
#!/bin/sh

function up() {
    until tailscale up --authkey=${TAILSCALE_AUTHKEY} ${TAILSCALE_UP_ARGS}
    do
        sleep 0.1
    done
}

# send this function into the background
up &

exec tailscaled --tun=userspace-networking --state=$TAILSCALE_STATE_PARAMETER_ARN
And a Dockerfile:
# never use :latest. It will only cause you pain.
FROM tailscale/tailscale:v1.21.26

ADD ./bootstrap.sh /bootstrap.sh
CMD ['/bootstrap.sh']
I decided against publishing this Docker image I we can't commit to the maintenance requirement of keeping the Docker image up to date with security patches and Tailscale's updates. If Tailscale could offer similar functionality with their official Docker image, we'd much appreciate it.
Step 3: Create AWS resources with Terraform
This Terraform configuration will take a few variables:
variable "image_name" {
  type = string
}
variable "container_command" {
  type    = list(string)
  default = null
}
variable "subnets" {
  type = list(string)
}
variable "authkey" {
  type = string
}
variable "tailscale_up_args" {
  type    = string
  default = "--advertise-routes 10.1.0.0/16,10.2.0.0/16"
}
Create a task definition and service:
data "aws_region" "current" {}
data "aws_caller_identity" "current" {}

locals {
  name          = "tailscale-vpn"
}
resource "aws_ecs_cluster" "default" {
  name = local.name
}
resource "aws_ecs_service" "default" {
  name            = local.name
  cluster         = aws_ecs_cluster.default.name
  task_definition = aws_ecs_task_definition.default.arn
  launch_type     = "FARGATE"

  desired_count          = 1
  enable_execute_command = true

  network_configuration {
    assign_public_ip = false

    subnets = var.subnets

    security_groups = [aws_security_group.default.id]
  }

  wait_for_steady_state = true
}

data "aws_subnet" "subnet" {
  id = var.subnets[0]
}

resource "aws_security_group" "default" {
  name   = local.name
  vpc_id = data.aws_subnet.subnet.vpc_id

  egress {
    from_port        = 0
    to_port          = 0
    protocol         = "-1"
    cidr_blocks      = ["0.0.0.0/0"]
    ipv6_cidr_blocks = ["::/0"]
  }
}

resource "aws_ecs_task_definition" "default" {
  family = local.name
  container_definitions = jsonencode([
    {
      name      = "tailscale"
      image     = var.image_name
      essential = true
      linuxParameters = {
        initProcessEnabled = true
      }
      logConfiguration = {
        logDriver = "awslogs"
        options = {
          "awslogs-group"         = aws_cloudwatch_log_group.default.name,
          "awslogs-region"        = data.aws_region.current.name,
          "awslogs-stream-prefix" = local.name
        }
      }
      environment = var.container_environment
      command = var.container_command
    }
  ])
  requires_compatibilities = ["FARGATE"]
  network_mode             = "awsvpc"

  cpu    = 256
  memory = 512

  execution_role_arn = aws_iam_role.execution.arn
  task_role_arn      = aws_iam_role.task.arn
}

resource "aws_cloudwatch_log_group" "default" {
  name              = "ecs/${local.name}"
  retention_in_days = 30
}
I've configured Tailscale to store its state in an SSM parameter. Thus, there is necessary IAM configuration:
data "aws_iam_policy_document" "ecs_tasks_service" {
  statement {
    effect  = "Allow"
    actions = ["sts:AssumeRole"]

    principals {
      type = "Service"

      identifiers = [
        "ecs-tasks.amazonaws.com",
      ]
    }
  }
}

resource "aws_iam_role" "execution" {
  name               = "${local.name}-execution"
  assume_role_policy = data.aws_iam_policy_document.ecs_tasks_service.json
}

resource "aws_iam_role_policy_attachment" "execution" {
  role       = aws_iam_role.execution.id
  policy_arn = "arn:aws:iam::aws:policy/service-role/AmazonECSTaskExecutionRolePolicy"
}

resource "aws_iam_role" "task" {
  name               = "${local.name}-task"
  assume_role_policy = data.aws_iam_policy_document.ecs_tasks_service.json
}

resource "aws_iam_role_policy" "task" {
  policy = <<POLICY
{
  "Version": "2012-10-17",
  "Statement": [
    {
      "Effect": "Allow",
      "Action": [
        "ssm:GetParameter",
        "ssm:PutParameter"
      ],
      "Resource": [
        "arn:aws:ssm:${data.aws_region.current.name}:${data.aws_caller_identity.current.account_id}:parameter/tailscale-vpn-state"
      ]
    }
  ]
}
POLICY

  role = aws_iam_role.task.id
}

resource "aws_iam_role_policy_attachment" "ssm" {
  policy_arn = "arn:aws:iam::aws:policy/AmazonSSMManagedInstanceCore"
  role       = aws_iam_role.task.name
}
Add this module to your Terraform project, supply variables such as the following, run terraform plan, and apply.
module "tailscale" {
  source = "../.."

  subnets = data.aws_subnets.subnets.ids

  image_name = local.image

  container_environment = [
    { name = "TAILSCALE_UP_ARGS", value = local.up_args },
    { name = "TAILSCALE_STATE_PARAMETER_ARN", value = local.state_parameter_arn },
    { name = "TAILSCALE_AUTHKEY", value = local.authkey },
  ]
}
Step 4: Approve in Tailscale
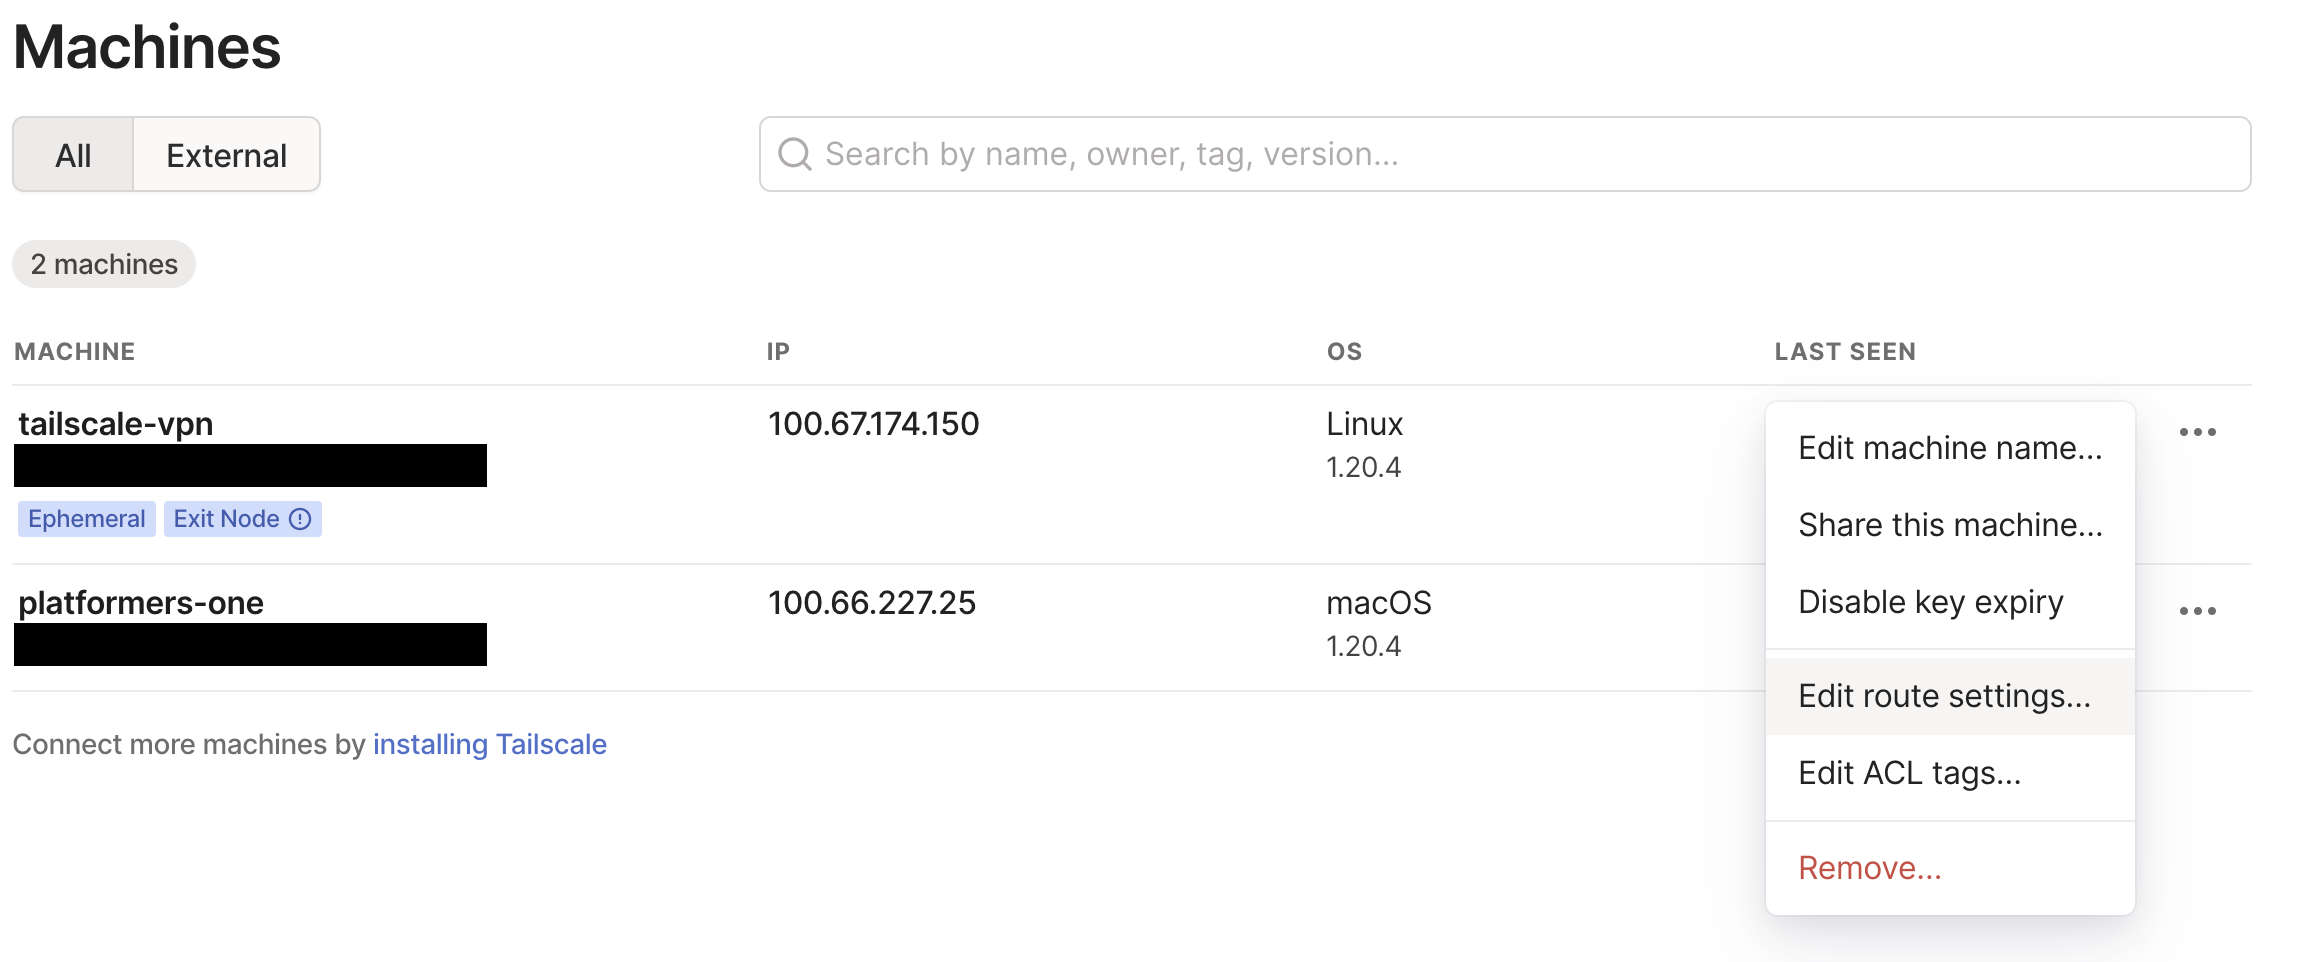
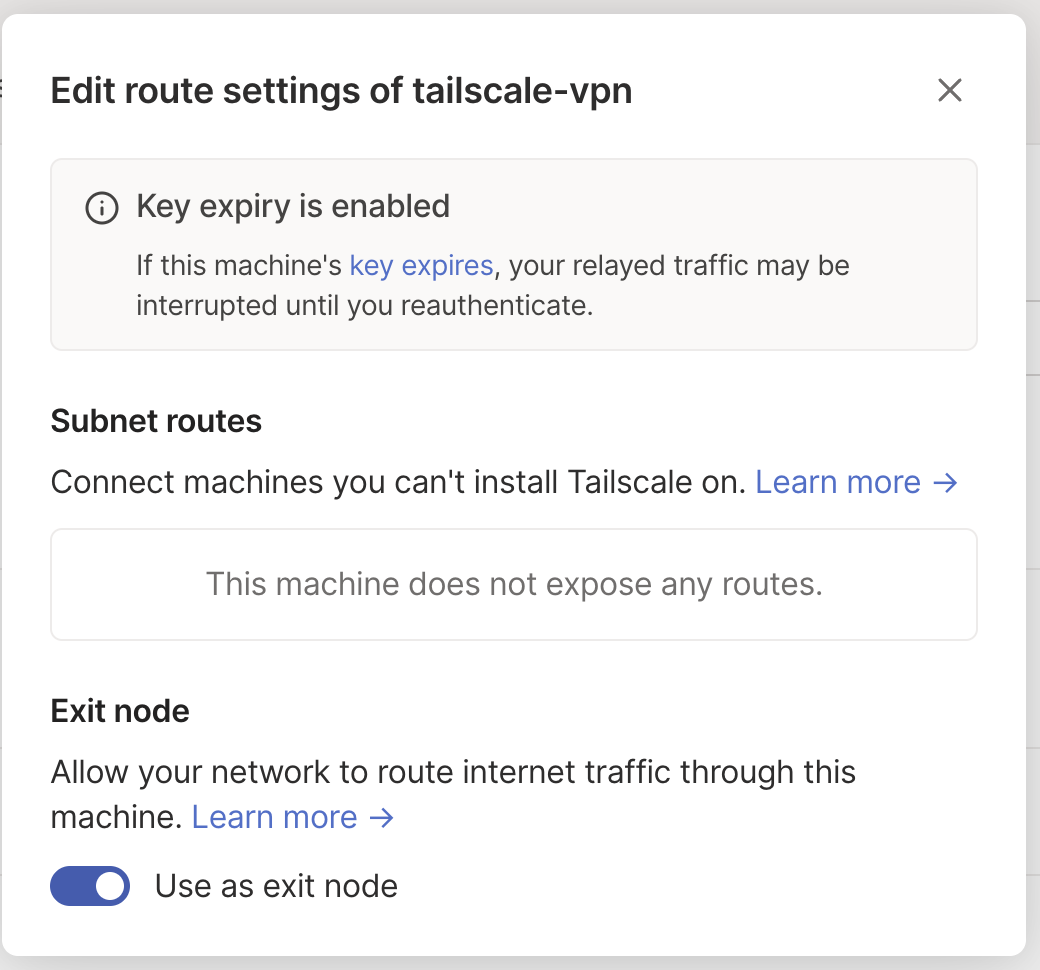
We need to approve the subnets or exit nodes, however you configured in the arguments, in the Tailscale Admin UI. This is a one-time thing:
Step 5: Enjoy!
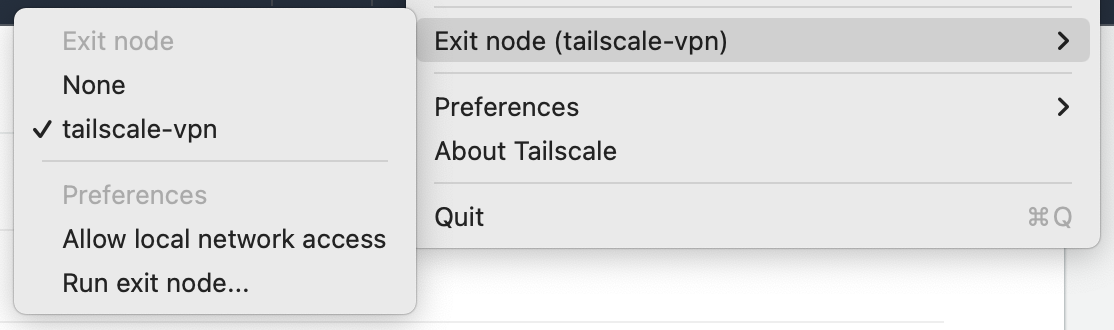
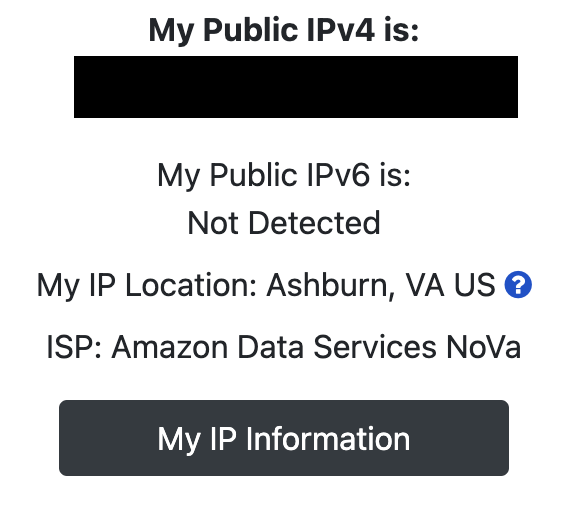
If you configured a subnet router, try to navigate to a private IP in that subnet. If you configured an exit node, select the Exit Node from the Tailscale menu, and check your IP address -- it should be an AWS IP!
If you tear this down, you may want to delete the machine state from the configured SSM parameter:
$ aws ssm delete-parameters --names "tailscale-vpn-state"
Conclusion
The source code referenced here is all available the GitHub repository.
I hope this was a helpful tutorial. If anything is unclear, please reach out and I will do my best to answer any questions you may have!